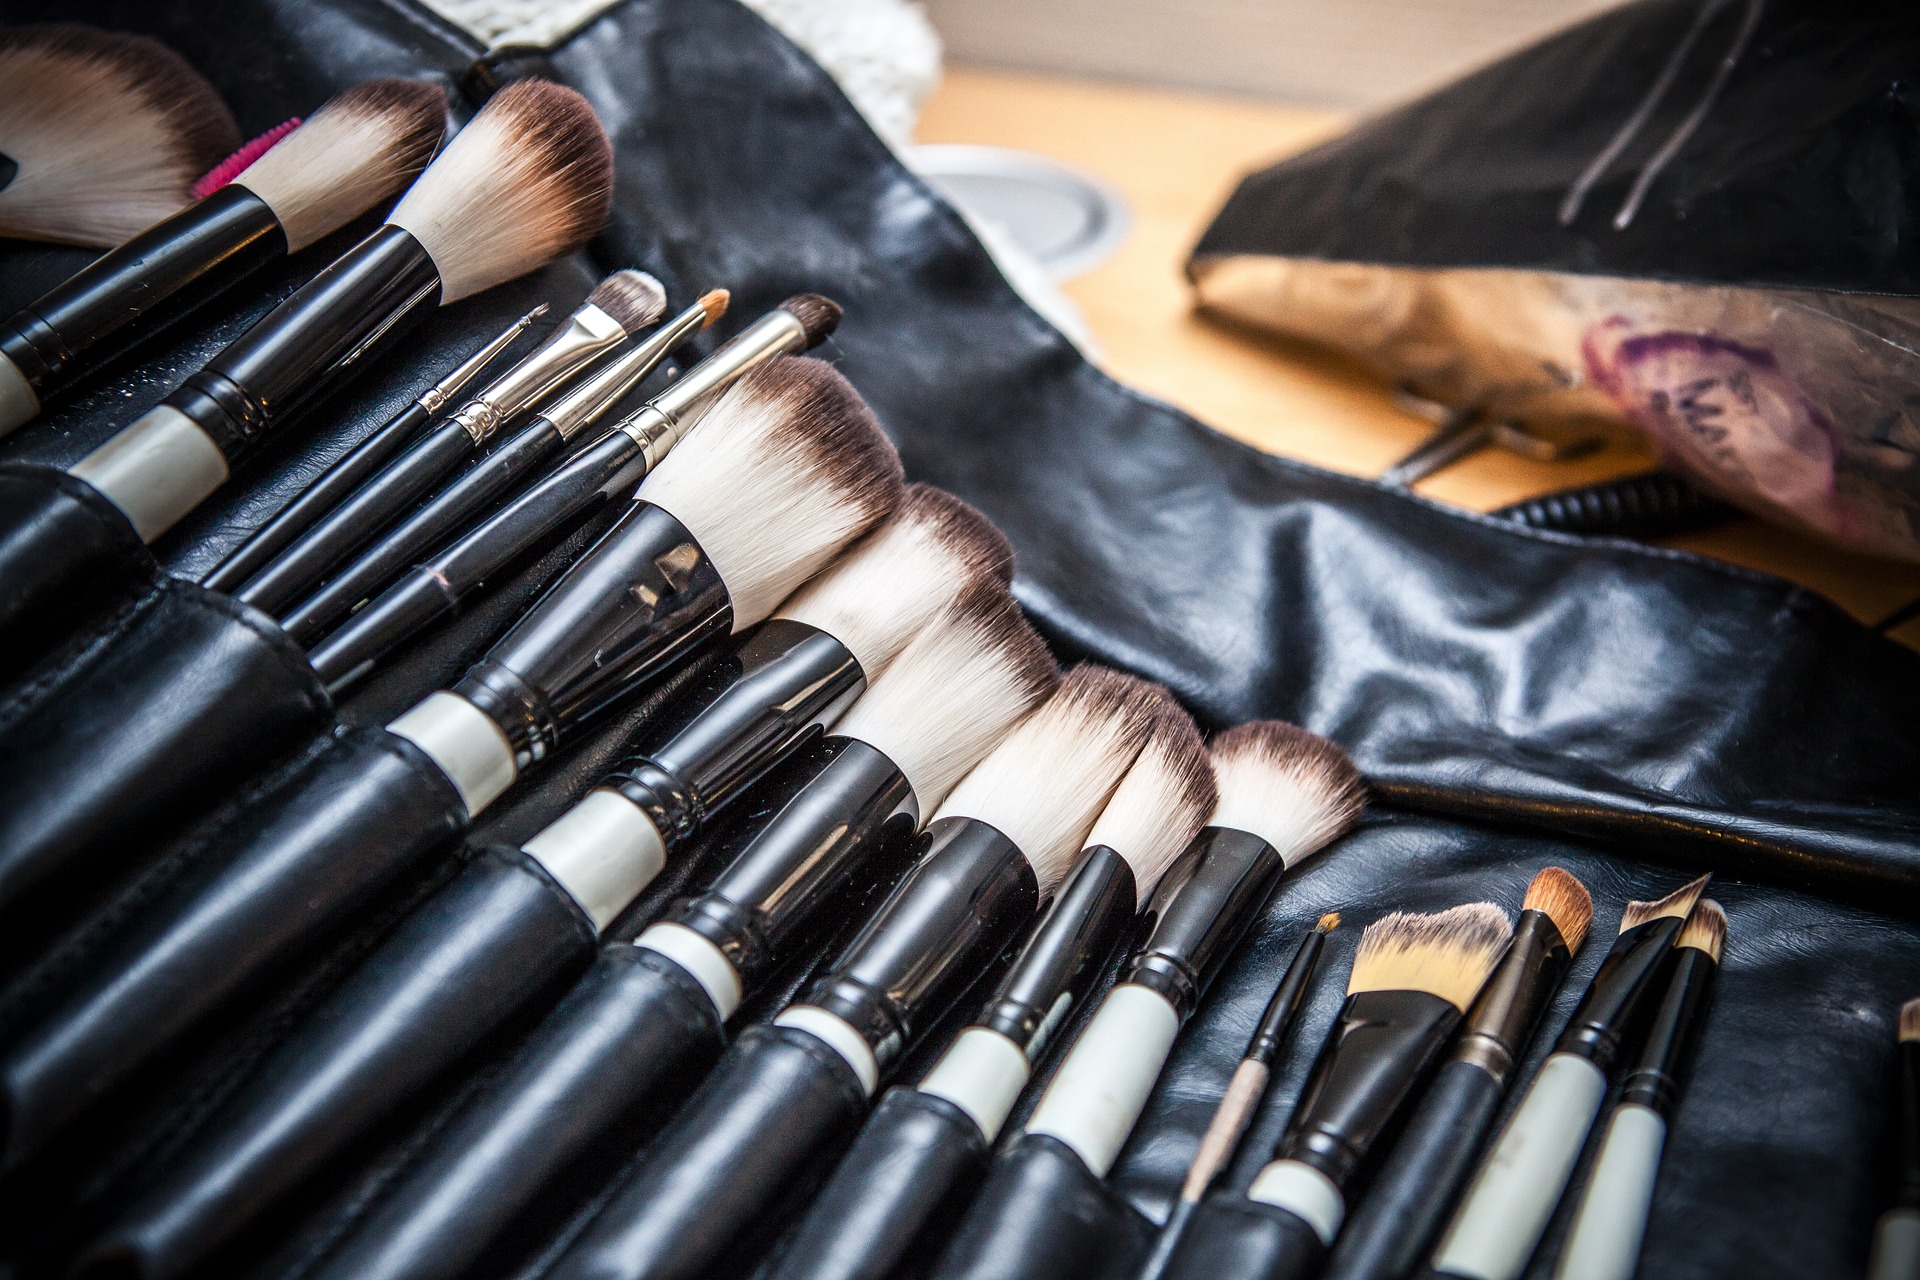
Hey, beauty lovers! If you’re anything like me, you probably have a collection of makeup brushes that would make an artist jealous. But let’s be honest—how often do we actually clean them? I used to think cleaning makeup brushes was as rare as a unicorn sighting, but then I learned from the experts that it’s a must-do for healthy skin and flawless makeup application. So, let’s dive into the fun (and surprisingly satisfying) world of brush cleaning!
Why Cleaning Your Brushes is Essential
First things first: why bother cleaning your brushes? Well, dirty brushes can be a breeding ground for bacteria, which can lead to breakouts and other skin issues. Plus, makeup residue can make your brushes stiff and not-so-effective at blending. And who wants that? So, think of cleaning your brushes as a little spa day for them—and your skin will thank you!
The Basics: What You’ll Need
Before we get started, let’s gather our tools. Here’s what you’ll need:
- Mild soap or baby shampoo: Something gentle that won’t damage the bristles.
- A bowl or sink: For mixing your cleaning solution.
- A towel: For drying those brushes afterward.
- Brush cleaner (optional): For a deeper clean or if you’re in a rush.
Step-by-Step Guide to Sparkling Brushes
1. Rinse the Bristles
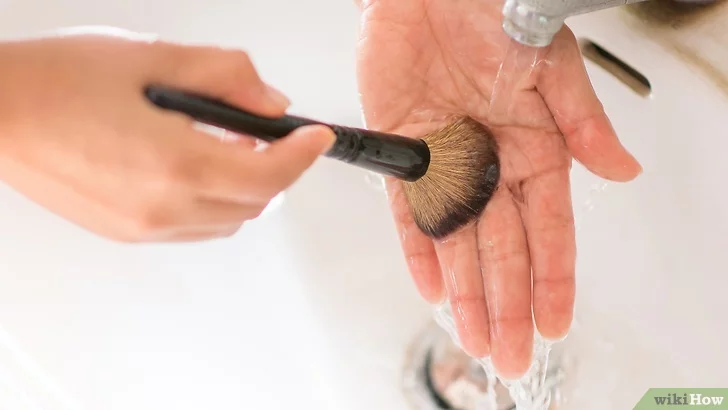
Start by rinsing your brush bristles under lukewarm water. Make sure to keep the handle and ferrule (the metal part) dry to avoid loosening the glue. Nobody wants a brush shedding more than your pet, right?
2. Mix Your Soap Solution
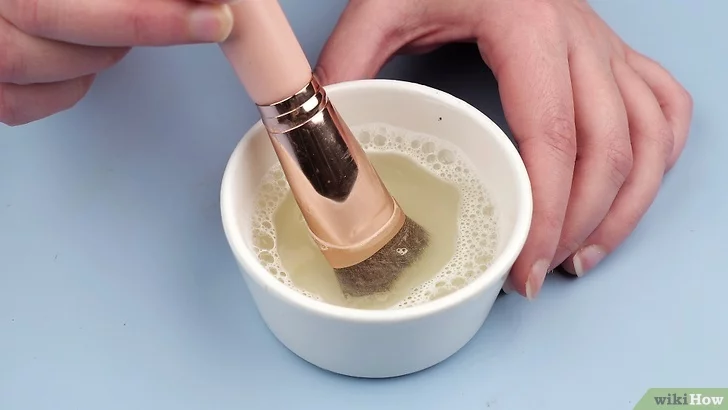
In your bowl or sink, mix a few drops of mild soap or baby shampoo with lukewarm water. Swirl the brush bristles in the solution, and watch all that makeup gunk start to dissolve. It’s oddly satisfying, like a mini makeover for your brushes!
3. Lather and Rinse
Gently massage the bristles with your fingers to work up a lather. If you’re feeling fancy, you can use a silicone cleaning mat for this step. Then rinse the brush under running water, keeping the bristles pointing downwards. Repeat if necessary until the water runs clear. It’s like giving your brushes a bubble bath—without the rubber ducky.
4. Dry Time
Gently squeeze out excess water with a towel and reshape the bristles. Lay the brushes flat on a clean towel, with the bristles hanging off the edge to air dry. This way, the water won’t seep into the handle and loosen the glue. Leave them overnight, and voila! Fresh, clean brushes ready for action.
Pro Tips from the Experts
- Frequency: Clean your brushes at least once a week if you use them daily. Yes, I know it sounds like a chore, but it’s totally worth it!
- Avoid Harsh Cleaners: Stick to gentle soaps. Harsh chemicals can damage the bristles and shorten the life of your brushes.
- Quick Fix: If you’re in a rush, use a brush cleaner spray. Just spritz, wipe, and you’re good to go!
Some Fun Examples
- Blush Brush: I once had a blush brush that was more of a “blush blob” brush because I never cleaned it. After a good wash, it felt like using a brand-new brush!
- Foundation Brush: This one’s a must-clean! I used to wonder why my foundation looked patchy, and then I realized my brush was hoarding all the leftover product. A quick clean made my foundation look smooth and flawless.
So there you have it, folks! A simple guide to keeping your makeup brushes clean and happy. Trust me, once you get into the habit, you’ll wonder how you ever went without doing it. Plus, there’s something oddly therapeutic about it—like a mini spa day for your brushes. Happy cleaning!
And remember, your makeup game is only as good as your tools, so treat them with the care they deserve. Now, go grab those brushes and give them a good clean—you’ll be surprised at how much better your makeup looks!
Gentle Reminder: This information is meant to empower you to make better choices for your health and productivity. For personalized advice, always consult a qualified healthcare professional.
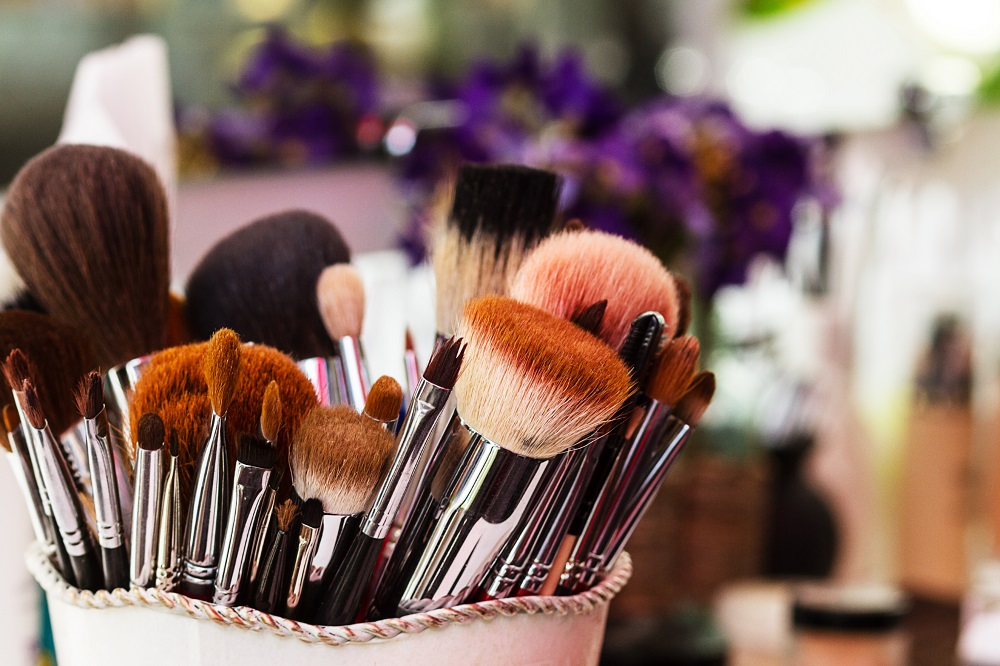
Featured Image by Tarmo Untinen from Pixabay


Leave a Reply